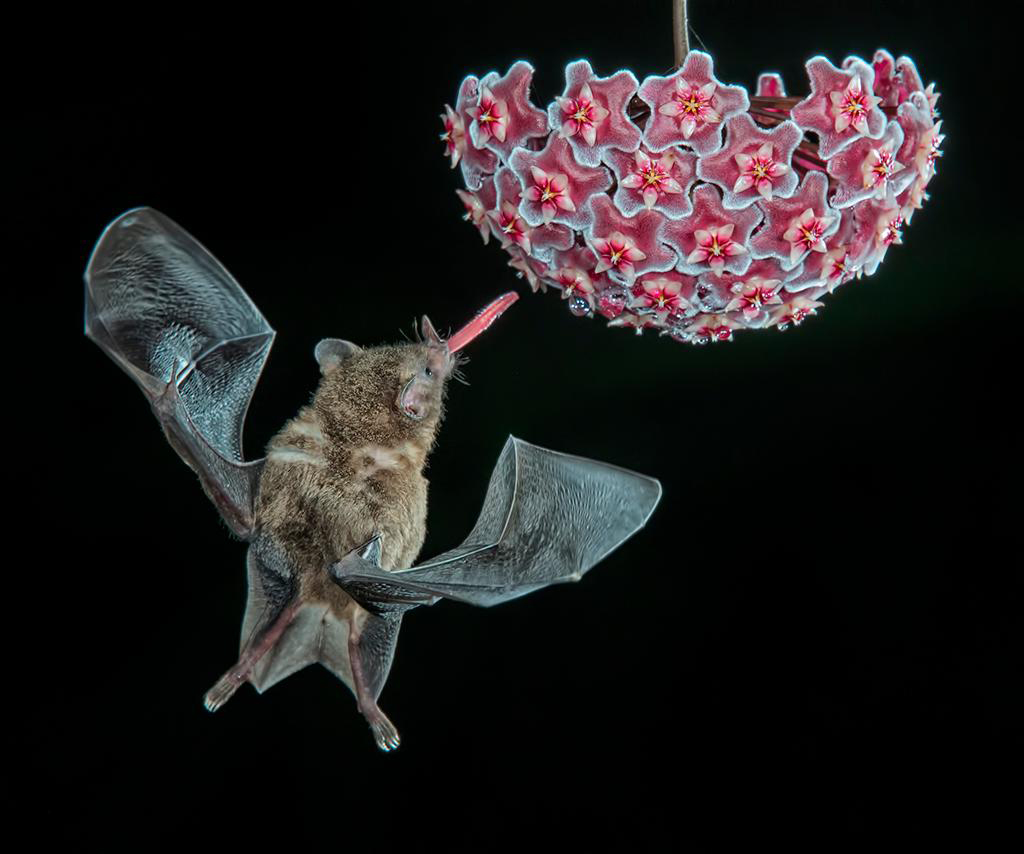
DPI-SIG Blue Ribbon Macro Image by Ed Cohen, Winter 2019 Competition
Taking macro photos is not a breeze… in fact, it’s almost impossible if there is a breeze. It takes patience, persistence, and most likely some special equipment. Finding subjects can be a problem. And if the subjects you want are animals, like Ed’s bat, you had better know what you are doing, because bats don’t just fly in for a studio posing session.
Ed’s setup started simply enough: A Nikon D5 with a 100-300mm zoom lens. Not even a special macro lens. Using a telephoto lens for macro images allows you to step back a bit. That’s handy, since you don’t want to be close and cuddly with bats. So, you probably already have a good camera and lens to take a blue ribbon photo like this.
Ed and his friends traveled all the way to Costa Rica for this photo. You can’t just wake up one morning in July and say to the spouse, “Honey, I’m going to Costa Rica tonight to capture a blue ribbon bat photo.” The TSA looks at you closely if you show up with a ticket purchased 20 minutes ago. So it may take some planning to figure out where you need to be to capture a stunning macro photo.
The setup for Ed’s photo was non-trivial. Light from four separate flashes synchronized by a remote trigger provided the bright burst of high speed flash needed to stop the action – look at the detail in the wings, the whiskers, the fur, the darting toungue. Ed with his guide and his buddies set up the exposure of the flash perfectly, properly exposing the flower and the wings. Using strobe flashes eliminates the need for a high speed shutter, if there is no ambient light (like, at night) the lens could have been left open, the flash alone controls the exposure of the scene to be captured, once the ISO and aperture are set.
A small aperture is needed to maximize the depth of field. Ed’s aperture was closed down to f22 resulting in an image that is in focus from the near wing to the spider web on the flower stem, and beyond. Such a small aperture further challenges the photographer to get the exposure correct. Most likely, a number of test shots with just the flower gave Ed the reference he needed to set the right flash brightness.
Then Ed cued the bat. How did he do that? His secret, not to be revealed here. Ask him, if you dare.
If you are just starting out to try macro photography, capturing flying bats is maybe not the best place to start, unless you are over-confident like me, and you think you can make anything work. I usually try that new thing and discover how really difficult it is. Often, then I give up. Don’t do that.
MACRO PHOTOS are defined as images captured at a 1:1 ratio on your sensor. That is, a flower that is 1″ high will make a 1″ image on your full frame sensor. In order to do that, the lens must have a close focusing distance. Typical medium range mirrorless camera lenses (50mm, or 24-70mm) rarely achieve a ratio as high as 1:2, as you can’t stay in focus and get close enough. Telephoto lenses create large images on the sensor, but few have close enough focusing distances to achieve a 1:1 ratio.
Options for Macro Photography
(prices shown are for new models from various sources at the time of writing)
MACRO LENSES. Special macro lenses are offered for the popular cameras. These all produce 1:1 ratios. They are not inexpensive. If you want to buy a lens just to try macro photos, buying a lens may be unwise. The lens can be used for other things, though. My 90mm Sony worked well as a portrait lens, for example. Used lenses can be found for less money. You also have the option of renting a lens for a while to see if you want to purchase.
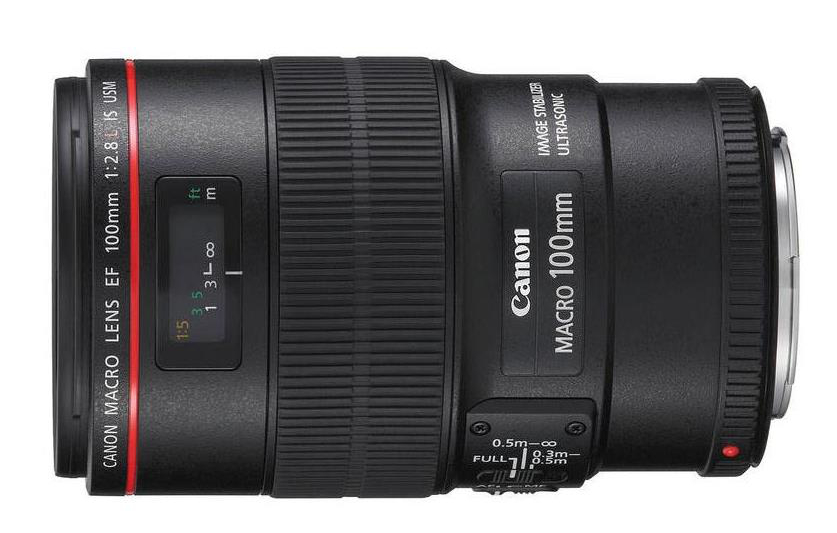
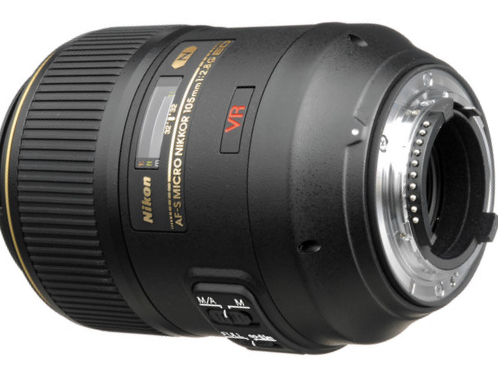
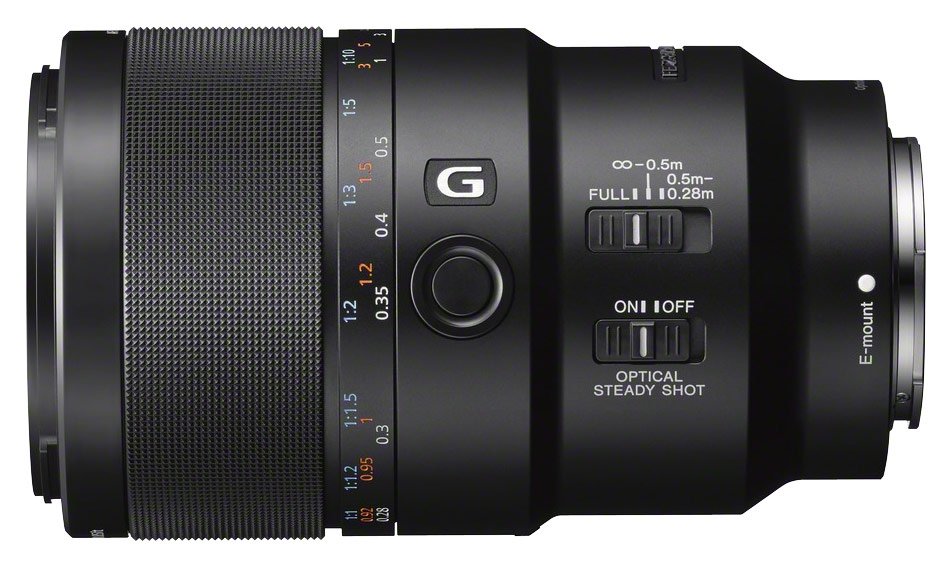
Other focal lengths, other vendors are options for purchasing macro lenses.
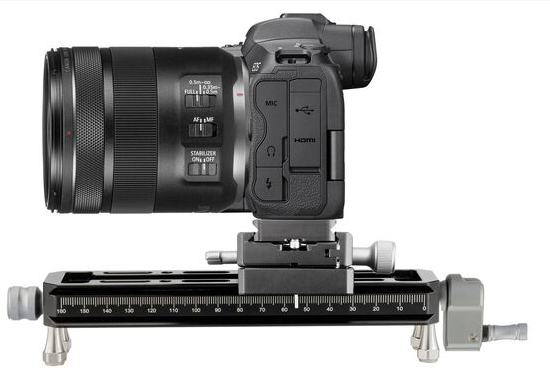
FOCUSING RAILS. Using a macro lens simplifies the process somewhat. But consider that if you are trying to take a photo of a lizard or flower that’s only 3″ from the end of your lens, holding still is a problem. A tripod helps, and if you can get into 3″ with a tripod, great. If not, a focusing rail can help you make the last 10% of the job easier. Set up on your tripod, the rail allows you to crank your camera closer or farther away in very small steps to get the right composition and focus.
Focusing rails also will enable you to do focus stacking, if your camera/lens does not support in-camera focus stacking.
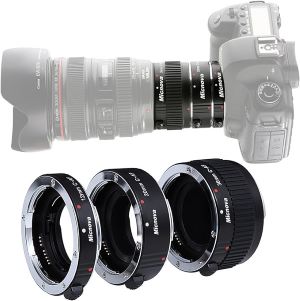
EXTENSION TUBES. Extension tubes are simple adapters that mount your lens farther away from your sensor. They are made to fit your specific camera lens mounting system, and come in different lengths. A set of 3 can be combined 6 different ways to set the length. Increasing the lens-sensor distance will reduce the light reaching the sensor, which may require higher ISO. Inexpensive tube sets do not include lens contacts that enable autofocus, and can only be used with manually focused lenses. Tubes with contacts allows autofocusing electronic lenses.
Using extension tubes can be tricky. Increasing the length to the sensor thwarts the intentions of the lens designer, and the optics may get wacky (that’s an optics technical term). No guarantees on how well this will work.
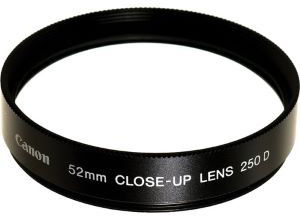
CLOSE-UP LENSES. Lenses that attach to the end of your lens like a filter can magnify the image presented to the sensor. They are available in different magnifications and thread sizes. You will lose light, and sharpness may suffer. If you find that the edges of your image are fuzzy, you can apply a heavy vignette and tell the judges it is an artistic interpretation.
SMART PHONE MACRO

Many modern cell phones have “close-up” capabilities. If the phone has multiple magnification features, try getting close to a subject and shooting at each magnification. Some may allow you to get closer and focus on the subject. You will have limited control of aperture. Try using the flash, as having the light near the lens makes better lighting possible.
Stability might be an issue… a tripod may help, or use alternate shutter options like squeezing the volume controls to trigger the shutter. It may help to tell your tiny subject that they will appear on TikTok, but maybe not.
LIGHTING FOR MACRO PHOTOS. Because you may need to get your lens very close to the subject, using natural light without casting a shadow on the subject is a challenge. Lighting designed for macro shooting can solve this problem.
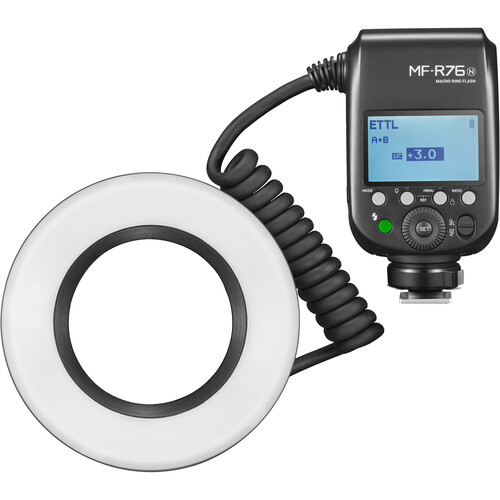
Ring Flash. Ring flashes mount around the end of your lens. They can provide even, flat illumination, but some versions have controls to illuminate half the ring at a time, offering more interesting possibilities for variation.
Macro/Close Up Flashes. These small flash heads can be mounted in a variety of ways, such as on the lens as shown, on a stand, on a flexible arm or even hand held. Each flash intensity in controlled individually, and can be triggered with standfard flash triggers. If you buy these, we will call you a macro geek at meetings.
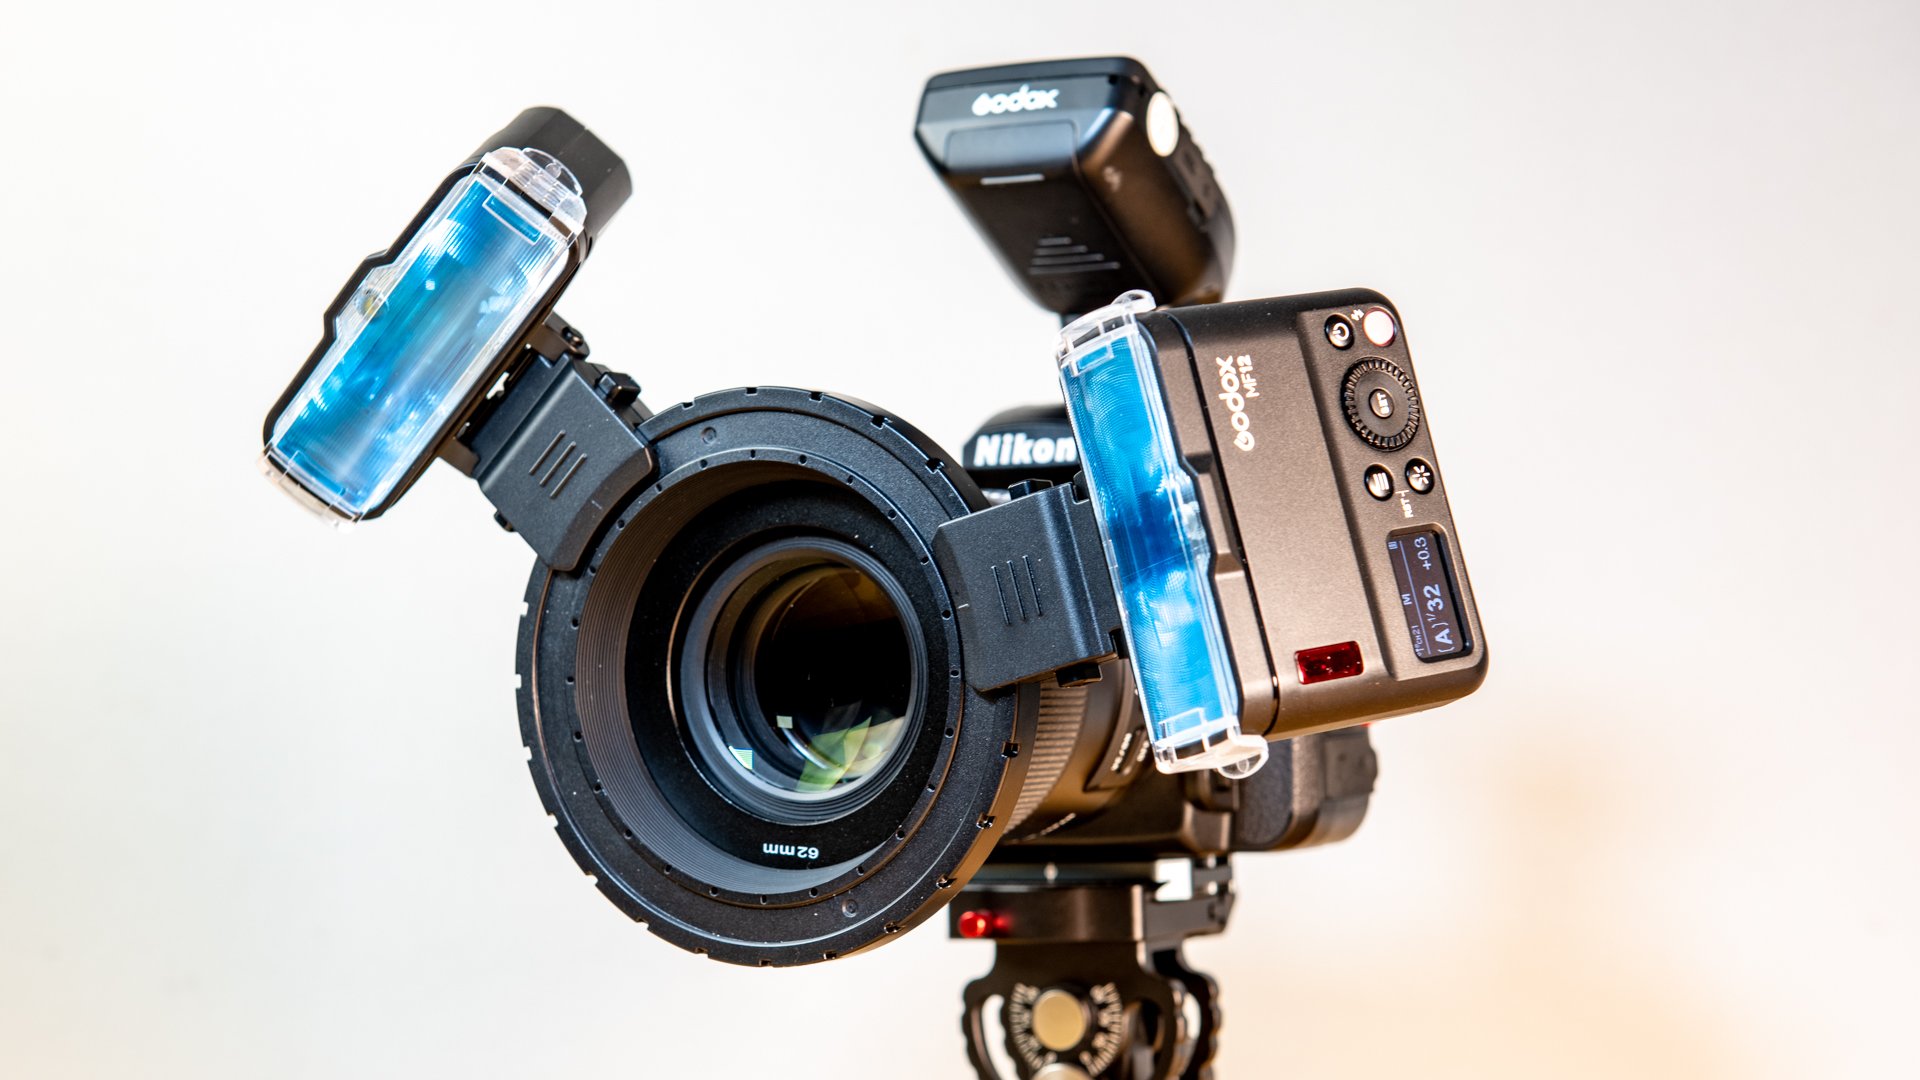
MODIFIERS. Pop-up flashes mounted on cameras suffer from shadows from the lens body when used for macro captures. Flashes mounted on hot shoes may suffer the same shadow problem.
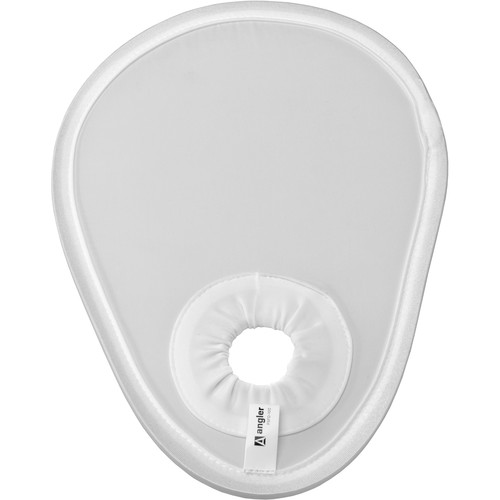
A very inexpensive macro flash diffuser can help with pop-up and hot shoe mounted flashes. The lens fits through the hole.
You can also use reflectors to concentrate light on your subject if you have a ight source to reflect from, or with a flash.
You can also try off-camera flash for interesting macro images. A living flash stand (aka a person) may provide the extra needed hands to make this work.
OTHER OPTIONS. Creating macro images can be done in other ways. If you have a high pixel count sensor, cropping into the center of the image can give you a magnified effect. Use a short telephoto lens, say the 70mm end of a 24-70mm lens, get as close as you can get. Another option is to use enlarging software, such as Topaz Gigapixel, to increase the size of the image, with reasonable fidelity, then crop into it for a magnified effect.
If you go to Costa Rica to get photos, send me a postcard.

